User Story Map in Confluence: Activities and Stories on One Page
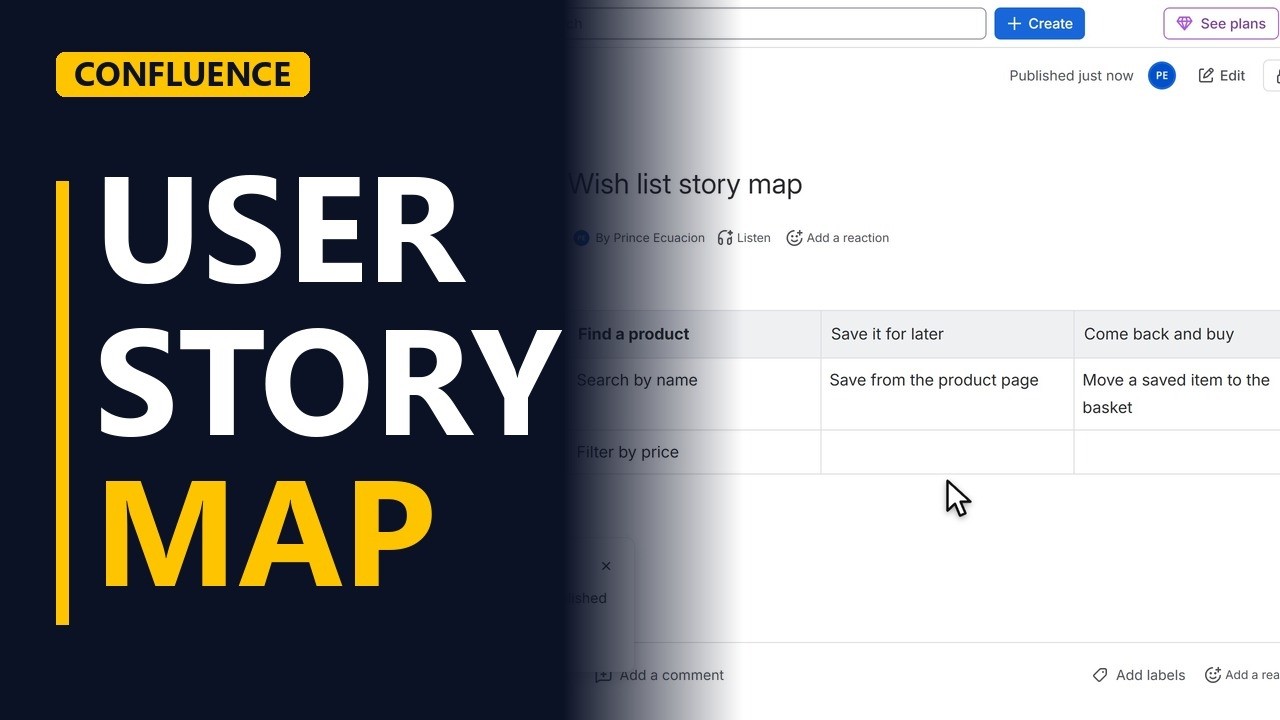
Build a simple user story map on a Confluence page: the shopper's activities across the top, the stories under each one, and one row per release. A quick table the whole team can read and comment on.
Step by step
Why a story map
- User story map. A long list of stories hides the big picture. A user story map lays them out. What the user does, left to right, and the stories under each step. Let me build one on a Confluence page.
A new page
- Create. The map belongs with the business requirements, so open that page. Click create at the top. Pick page.
- A clear title. Name it after the feature. Wish list story map. Press enter to go into the page.
Build the map
- Insert a table. Now type a slash, and table, and press enter. Confluence asks for the size. Three columns, one for each big activity, and three rows. That is the default, so press enter again.
- The backbone. The top row is the backbone. The big things the shopper does, in order. First, find a product, then save it for later, then come back and buy it.
- Release one. Under each activity go the stories. The second row is the smallest set that works from start to end. Search by name, save from the product page, and move a saved item to the basket. That row is release one.
- Later releases. Stories that can wait go lower down. Filter by price is for a later release. Not every activity needs a story in every row.
Publish
- Publish. Click publish. It goes under business requirements. Click publish.
- The whole journey. Here is the map. Activities across the top, the first release under them, and later stories further down.
Recap
- Across, then down. So, put the big activities across the top, in the order the user does them. Put the stories under each one, most important first. Each row is a release. Subscribe for more Confluence tips for business analysts.


